SignalRGB supports popular devices from leading brands like Razer,
Corsair, EVGA, Steelseries, Logitech, and more.
RGB Effects
Get more with
Game Integrations
Reactive RGB effects triggered by the hottest games in the industry.
New game integrations are added monthly.
Macros
With SignalRGB macros, you can perform a variety of functions to
customize your gaming experience, such as automatically launching
specific effects when you launch a game.
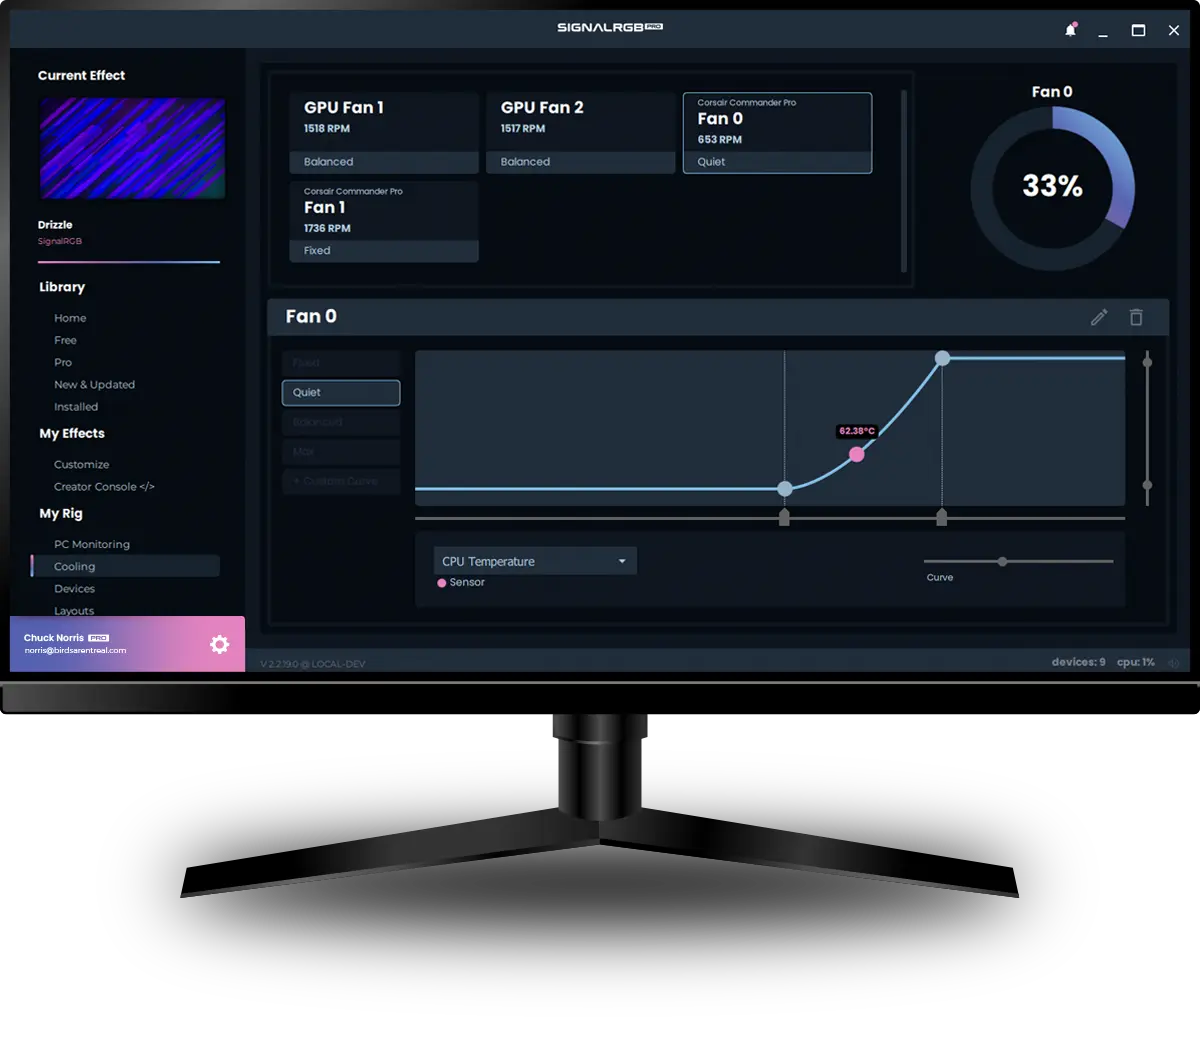
PC Monitoring & Fan Control
Manage system performance across your setup, and set custom fan curves
to keep your rig cool.
Audio Visualizers
Turn your RGB setup into a synchronized light show. Works with any
audio source from your computer.
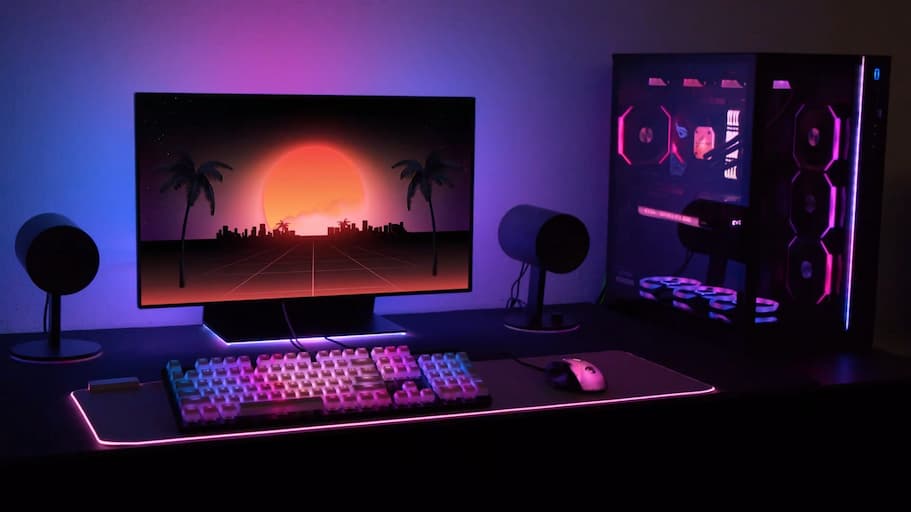
User Setups
SignalRGB lets you control your RGB devices, your way. Looking for some inspiration? Check out some of our user-submitted
setups.
We don't work on phones yet. Check us out on your computer.
SignalRGB is a team of passionate gamers and creators dedicated to merging
art and technology. Our team strives to illuminate the gaming world through
innovative RGB solutions that inspire and enhance gaming experiences.
We use cookies to enhance your browsing experience, and improve website
usability. By clicking "Accept All", you consent to our use of cookies.
Cookie Preferences
We use cookies to improve your experience on our website. This includes essential cookies for functionality and optional cookies for analytics and marketing.
Cookie Preferences
Customize the types of cookies you'd like to allow.
Necessary
Necessary cookies are required to enable basic
functionality of this site, and are always enabled.
Required
Usage
Usage cookies help us understand how our website is used
and how we can improve usability and performance.
Marketing
Marketing cookies are used to measure effectiveness of
advertising campaigns, and let us host giveaways.