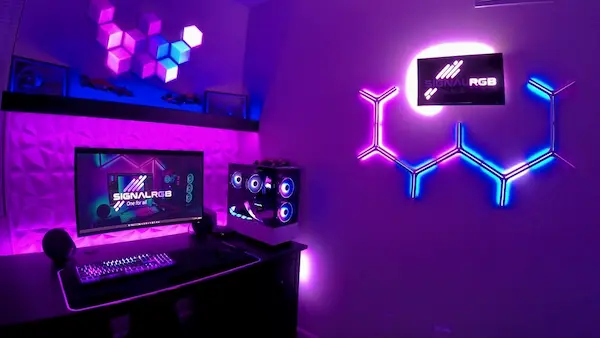
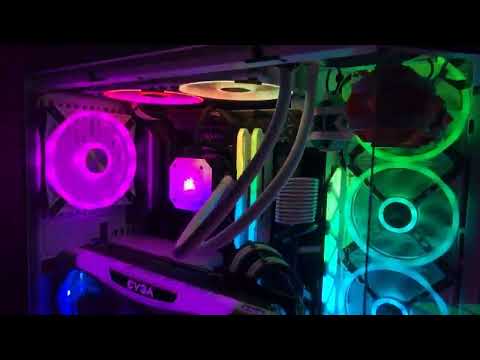
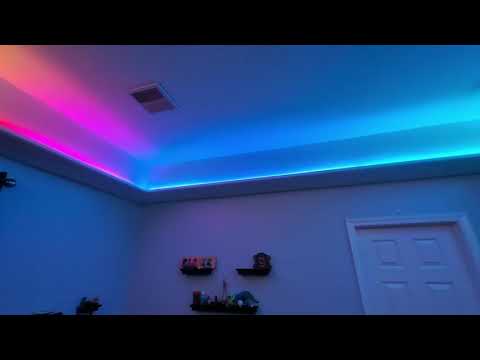
One For All
Control and sync your RGB with one free app.
- 6000+ supported devices across brands
- Hundreds of free, customizable RGB effects
- Free fan control and PC monitoring

As Seen On


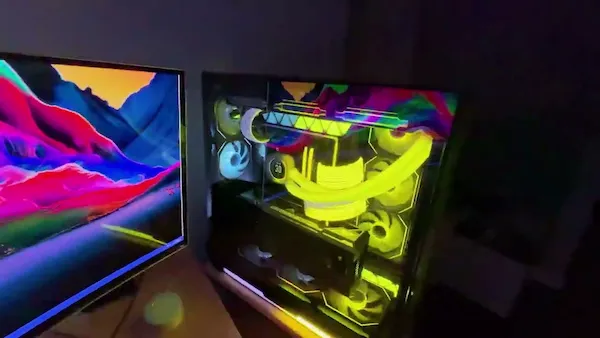
A cool, quiet PC is within reach for anyone. No separate downloads, no second app living in your system tray.
Free users get polished presets that just work. Pro users get a full curve editor, multi-point curves, and complete color customization across every graph and gauge.
Quiet, cool, beautiful. No second app in your tray.
Knowing what's happening inside your PC shouldn't require a dedicated app and a manual. SignalRGB's monitoring puts your most important stats front and center. Beautiful, readable, and always there when you need them.
Free users get the essentials covered cleanly out of the box. Pro users unlock full color customization, resizable and rearrangeable modules, and expanded sensor support.
Your PC's vitals, front and center.
Perform a variety of functions to automate your setup—launch effects, apps, games, websites, and more with custom shortcuts.
Launch effects, apps, games, websites, and more with custom shortcuts.
Get SignalRGB ProSignalRGB Pro is our all-inclusive subscription with everything unlocked. Perfect for those who want it all.
Subscriptions not your thing? Try Light Points.
With Light Points, you can buy individual pieces of content such as RGB effects and game integrations. Keep them forever with no subscription required.