SignalRGB Rocket League Integration Tutorial
In this guide you will learn how to make your RGB gaming setup react to your Rocket League gameplay exactly like in the video shown below.
You can also view this page which lists all of the effects you should see with this integration.
Step 1. Install SignalRGB
The application that you will be using for the game integration is called SignalRGB, it controls thousands of products from hundreds of different brands. Follow this guide to ensure you configure the application correctly.
Step 2. Game Settings
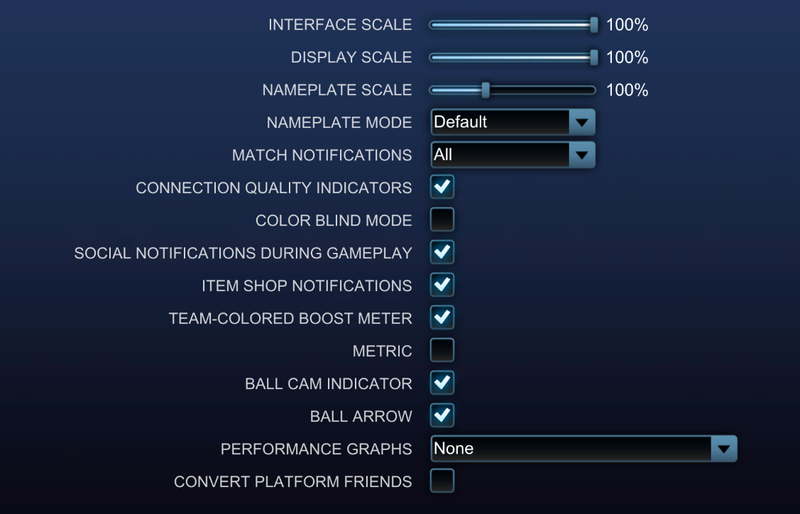
Go into your Rocket League video settings and make sure that your display mode is set to Fullscreen or Fullscreen Windowed. Disable any color filters such as color blind mode if applicable. Reset your game interface settings to default to ensure that the integration will function properly because SignalRGB scans the game interface in order to trigger effects, it was designed to work only for the default game interface but that may change in the future.
Your interface settings should look like the images shown below.

Step 3. Disable Game Interface Mods
If you have any mods installed that modify the game interface then you need to disable them as they will prevent the game integration from functioning correctly. You can still keep any mods including shaders that do not change the game interface.
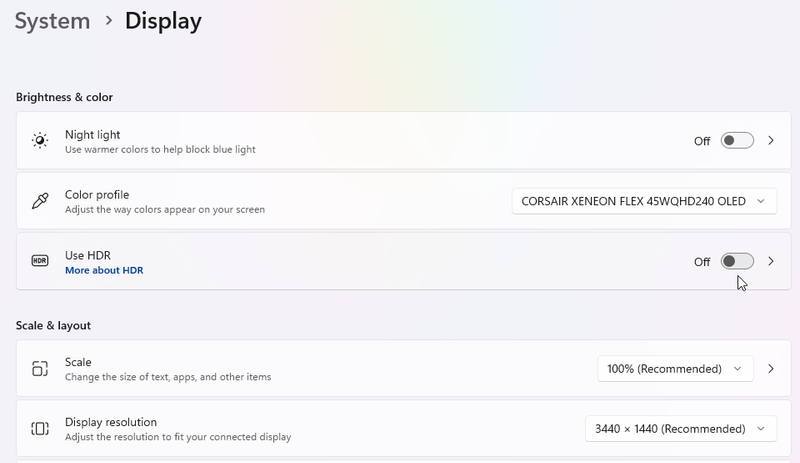
Step 4. Windows Display Settings
In Windows go to System > Display and make sure your resolution is set to its normal monitor resolution, if it's a 3440x1440 monitor then it needs to be set to that resolution in the 'Display resolution' dropdown menu.
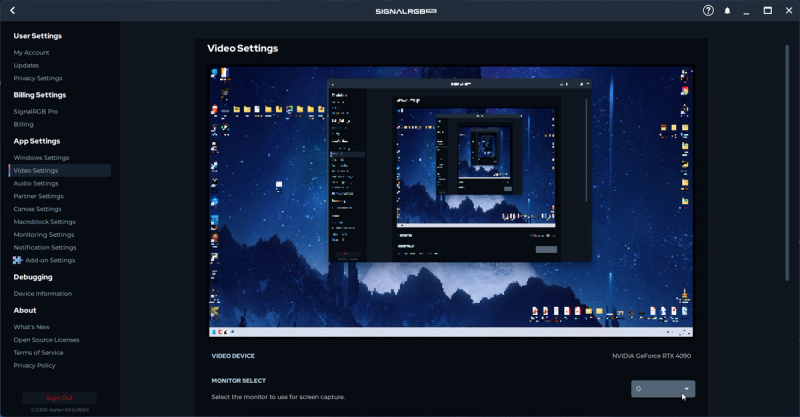
Step 5. SignalRGB Settings
If you have multiple displays then go to 'Video Settings' in SignalRGB and make sure that the monitor you'll be playing the game on is selected in the 'Monitor Select' dropdown.
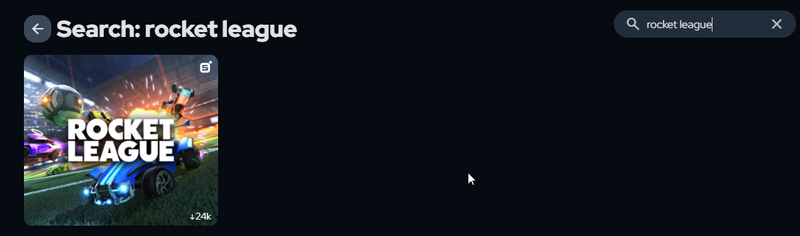
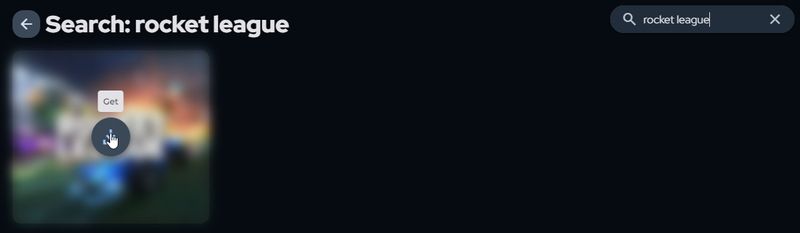
Step 6. Install Rocket League integration
Use the search bar in the top right corner of the SignalRGB dashboard and type 'Rocket League', then hover over Rocket League and click 'Get'.
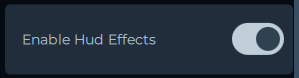
Now you can go to 'Customize' on the left side of the window and you will see a bunch of settings associated with the Rocket League integration. By default, every integration includes screen ambience and it will look like the image below. On the right side, you can enable and disable which effects will display on top of the screen ambience and you can adjust the screen ambience brightness or set it to 0 if you want it off.

At this point if you are not interested in configuring the boost bar in Step 7 then disable the toggle labeled 'Enable HUD Effects'. You can now minimize SignalRGB and play Rocket League, your RGB setup should start reacting to your gameplay.
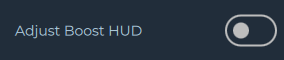
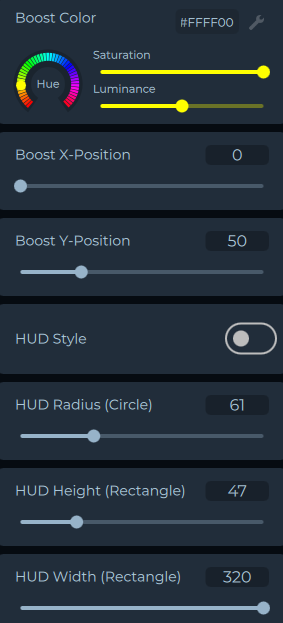
Step 7. Adjustable Boost Bar
The SignalRGB Rocket League integration allows you to display your boost bar anywhere on your device(s). Make sure the toggle labeled 'Enablde Hud Effects' is on.
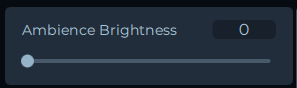
If you want to properly utilize this feature then you need to position the boost bar to fit on your device(s). Enable the 'Adjust Boost HUD' toggle which will make the bar visible and then set 'Screen Ambience Brightness' to 0 so that only the bars are on the screen.
Your effect canvas should look like the image below where the yellow bar is boost.
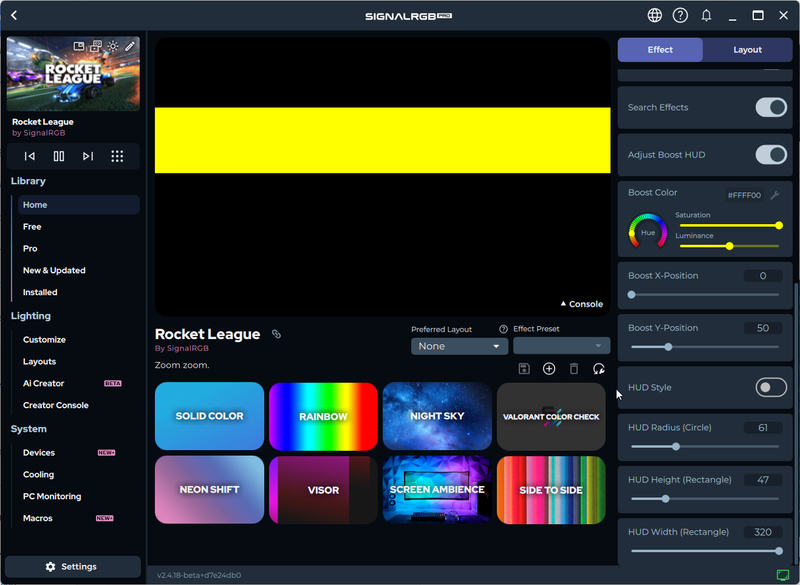
There are many settings to configure the boost bar. You can adjust the bar colors, the x and y positions of the bar, and the height and width of the bar. There is also the "HUD Style" toggle which will change it from a rectangle into a circle, this is optional.
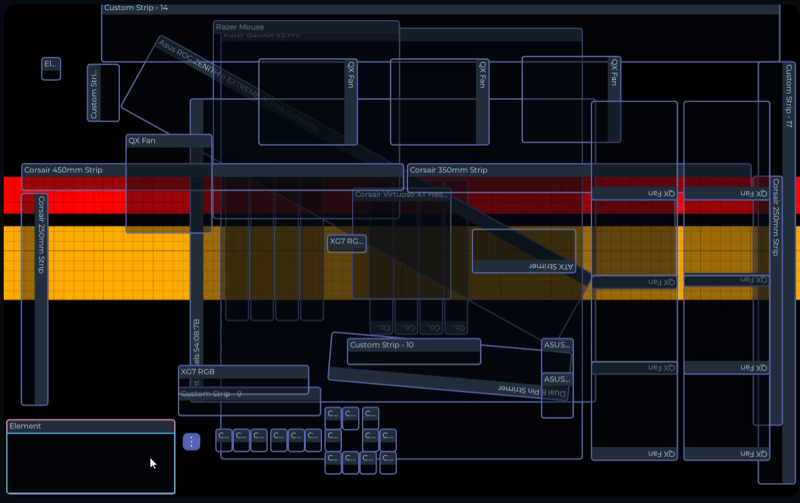
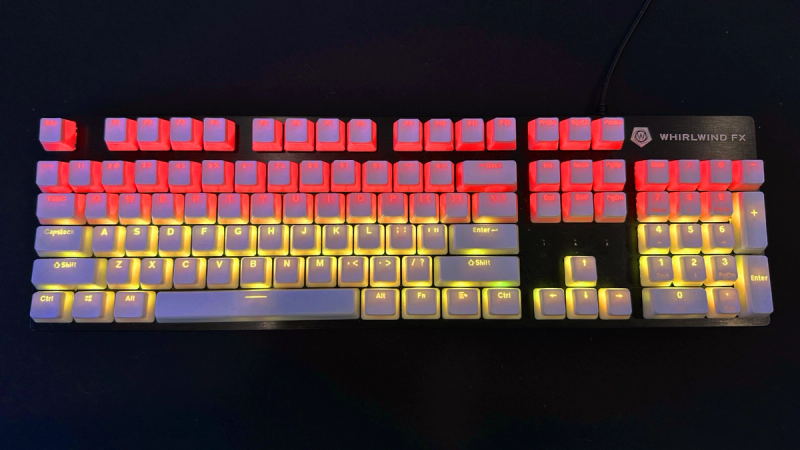
You may need to create a new device layout if you want the bar only on specific devices. In the image below, the keyboard is positioned in the bottom left corner while the rest of the devices are positioned normally. This way the bar can be positioned over the keyboard without overlapping onto other devices. Only the keyboard will display the health bar while the rest of the devices will be displaying the other effects.
Now you can adjust the x and y positions, and the height and width of the bar until it's in the desired location as shown in the example video below.
You can go between the effects tab and the layouts tab to verify the positioning. In the image below with the Minecraft integration it shows that the health bar is covering the top half of the keyboard and the hunger bar is covering the bottom half of the keyboard.
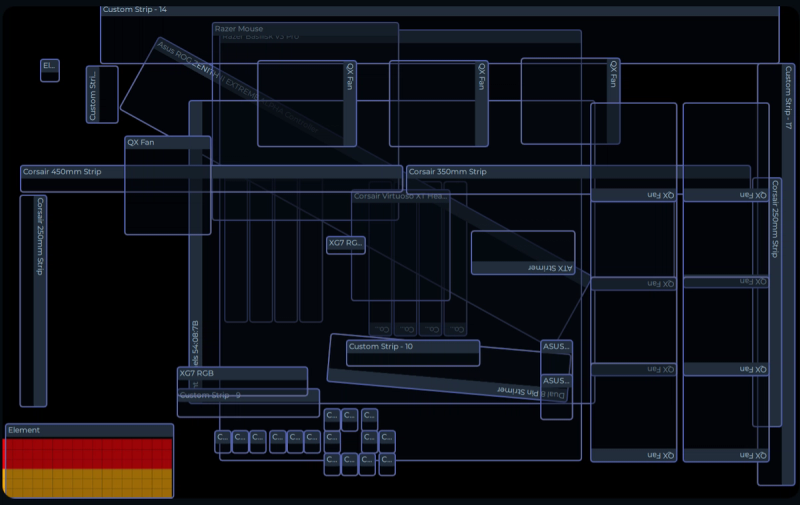
You can also verify bar positioning by looking at your device which should match the layout.
Remember to disable the 'Adjustment Toggle' once you are done positioning the bars.
The video below is the finished result where the keyboard is displaying the health and hunger bar in Minecraft and the surrounding devices are displaying other effects.
This is the end of the tutorial. Send an email to [email protected] if you are experiencing issues with the integration.