Are you looking to build a fully synced RGB setup? Well put on your sunglasses, because by the end of this guide you’ll have a PC battlestation that will shine like the sun.
This guide will take you through building an RGB setup from start to finish and the best part is - you’ll see how to control and sync your RGB with just one application.
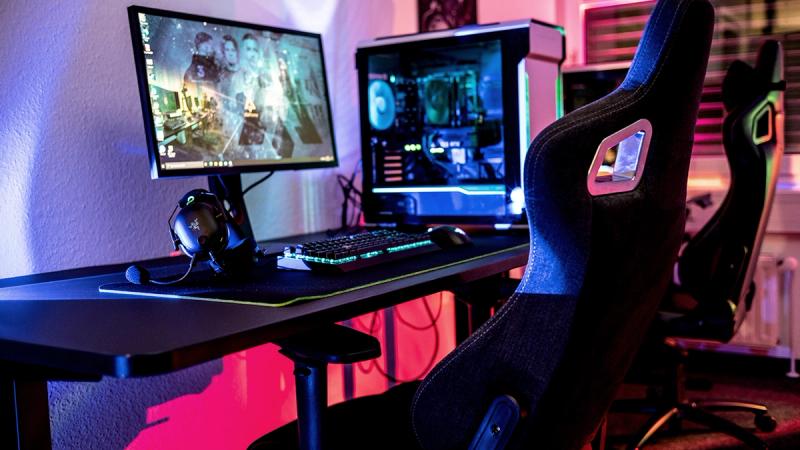
Part Selection
The first step to building an RGB setup is to select the components and peripherals you’ll be using. Back in the day, managing RGB lighting was tricky if you didn’t lock into one brand of products. Each manufacturer has their own RGB software, which meant if you wanted to do anything other than have one static color you were simply out of luck (or had to run multiple pieces of bloatware). These days, we can take advantage of applications like SignalRGB that sync different brands together, which means you can pick parts without being locked into a specific brand. We will tell you what to look for when you’re buying your parts as well as our top picks in each device category. You can also click here to see a list of every device SignalRGB supports in order to make device selection easier. Many devices that connect with 5 volt ARGB headers might not be listed because they work with SignalRGB as long as you’re connecting them to a supported RGB controller or motherboard header.
Selecting a Case
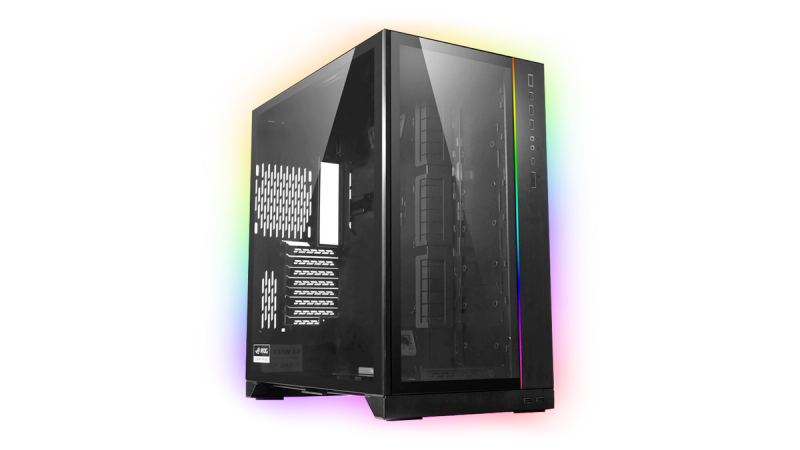
The first thing you should shop for is the case because you’ll be basing the rest of your part selection around it. When choosing a PC case, it’s important to not only consider the looks, but also the dimensions and parts compatibility. I’ve gotten into a situation where the radiator was too large and hit my ram, and if that happens then you are guaranteed to have a bad time. A good rule of thumb would be to double check the case dimensions, as well as reading reviews on the case to make sure it will have ample room to fit your components. The best type of case for RGB builds in our opinion is one with a glass panel on the front and side to show off all of that RGB goodness. However, you will want to consider how the case you choose will affect air flow and thermal performance. For this build I’ll be using Lian Li’s 011 Dynamic XL which has an RGB strip built into the front of the case that’s supported in SignalRGB. It also has plenty of room to easily manage the rat’s nest of cables that’s inevitable when you build an RGB PC. Some other cases I recommend are the Hyte Y40, Hyte Y60, Corsair 4000x, and Corsair 5000x.
RGB fans
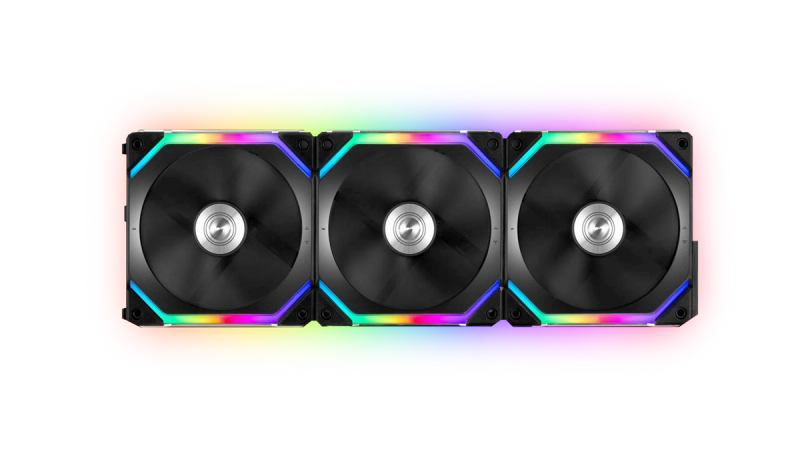
Next you’ll want to shop for fans which will keep your PC running cool. Our top picks for RGB fans with good performance would be the Corsair AF Elite fans, Corsair LL Fans, Thermaltake Tough Fans, and Lian Li Uni Fans which have a unique daisy chainable design that makes cable management easier. If you want something that’s absolutely loaded with RGB then Corsair QL fans or ThermalTake Ring Quad fans would be a good choice at the expense of some performance. You should also decide if you want 120mm fans or 140mm fans if the case you chose supports them. 140mm fans are quieter than 120mm fans at the same RPM. You can get the same or better cooling with less noise which is something to consider. Some cases like the Corsair 4000x and 5000x come with RGB fans already included, so if you want to save money then keep the fans that are already in the case and buy more of them to keep a cohesive look. For this build I’m going with Lian Li Uni Fans because they look great, they perform well, and the cable management is much easier. I need 9 of these fans for this build which costs $230.
RGB Motherboards
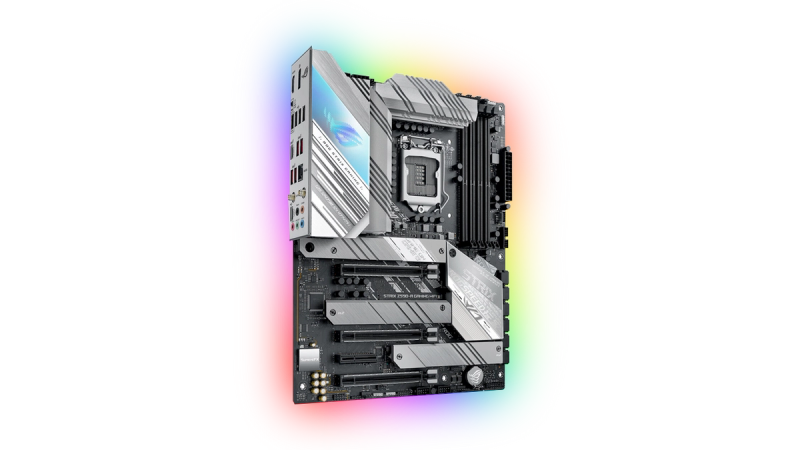
Now it’s time to figure out which motherboard you want to use so that you can buy your CPU and RAM based on it. Almost all modern gaming motherboards have RGB. ASUS is a solid choice and almost all of their motherboards have great support in SignalRGB, including the RGB headers which we’ll be taking advantage of in this build. If you’re on a budget then I recommend going with previous generation motherboards. If you don’t care for WIFI you can usually save even more money by going with motherboards that don’t have wifi included. Our personal take is that you’ll get plenty of performance with cheaper motherboards so you don’t really need to get the most expensive latest generation boards unless you are looking to overclock latest generation processors. I’m going with a motherboard that is 2 years old at the time of this video, the ASUS ROG Strix Z590-A which I got brand new for only $150, which was cheaper than the RGB fans.
CPU
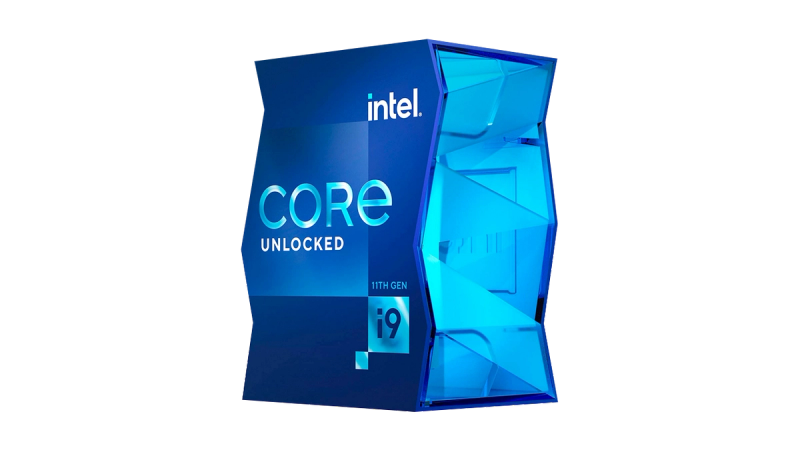
With the motherboard selected, it’s time to shop for a processor that fits the socket. Unfortunately, there aren’t any RGB processors yet so your only options are boring old regular processors. What you choose will depend on what you’re looking to do. If you don’t need the best performance and you’re not going to be using the PC for heavy work loads then you would be fine with any budget processor. What you want to look for is a processor with at least 6 cores which will be enough to handle modern games and decent work loads. If you want a more future proof build then I’d suggest an eight core processor or higher. You can save a little bit of money by going with a processor without integrated graphics, in our case the regular 11900K with integrated graphics was $350 dollars so I went with the https://amzn.to/3ZVEcIl — an 8 core 16 thread processor for $328 dollars. I saved 22 dollars that I can use on the next item in our shopping list which is a CPU cooler
CPU Cooler
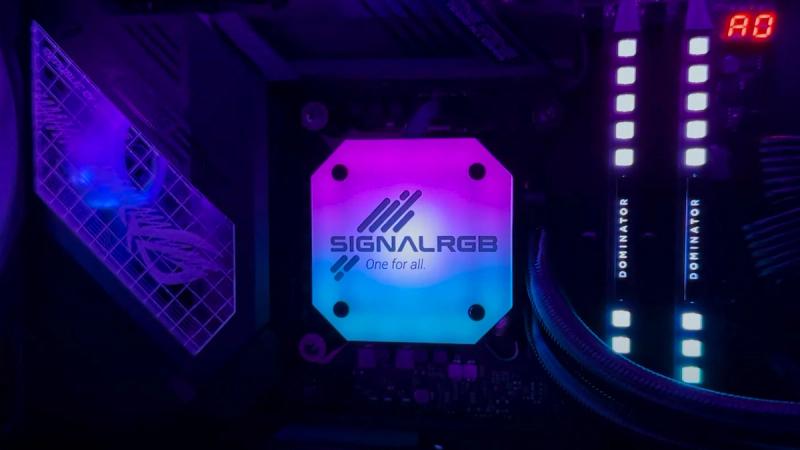
Your processor is going to generate a lot of heat, so you will want a good cooling solution that also includes RGB. There's two ways you can approach this, the first and easiest way is to go with air cooling. I recommend the Arctic Freezer 50 which supports both AMD and Intel and has addressable RGB lighting. The second way is to go with liquid cooling, today this is easier than ever with all in one liquid coolers. I recommend either The NZXT Kraken X Series which has an infinity mirror on it, or The Corsair Elite Series that lets you add a custom plate on the pump head. I’m going with the Corsair H150i Elite which has a 3 fan radiator that fits at the top of our case. I also have a custom plate that says SignalRGB on it. I'll leave a link in the video description to where you can get one of these plates. Make sure that whatever cooling solution you go with fits in your case and is compatible with your motherboard because coolers can bump up against tall VRM heatsinks and RAM. Speaking of RAM, that’s the next item on the shopping list.
RAM
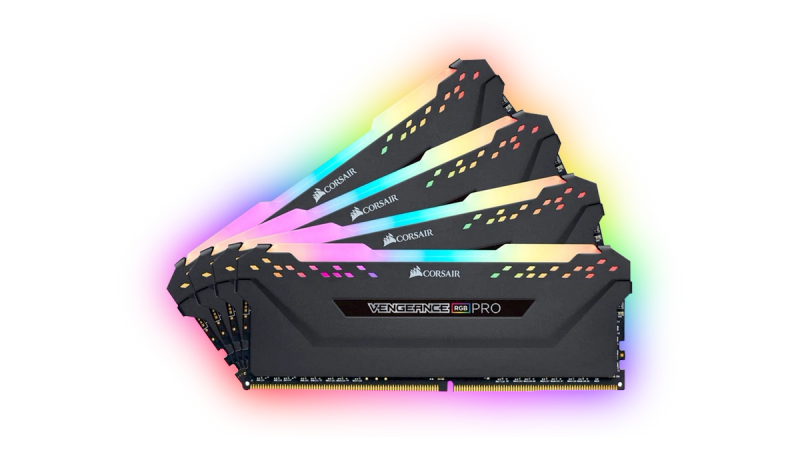
Depending on your motherboard, you’re either shopping for DDR4 or DDR5 memory. DDR5 offers better bandwidth and capacity but it has higher latencies and offers only slight performance gains in non-professional tasks. The high cost makes it the less practical choice for most PC users unless needed for demanding tasks. So if you choose to go with a motherboard that supports DDR4 then you’re going to save a lot of money on RAM and you’ll still be able to game and do all of your daily tasks just fine. I recommend getting at least 16GB of RAM but if you can then go for 32GB just to be more future proof. As far as clock speeds go, I personally wouldn’t go lower than 3200MHz. For this build I got a used set of 4 by 8 GB Crucial Ballistix RGB RAM running at 3600MHz for $100 dollars! You can find brand new DDR4 RGB ram on Amazon with the same specs for about 150 dollars or less. Whereas if you went with DDR5 RAM, it’s mostly sold in pairs of two with no less than 32GB for roughly $150, so at the time of this video it would cost over 300 dollars if you wanted to fill all 4 RAM slots for the maximum amount of RGB.
GPU
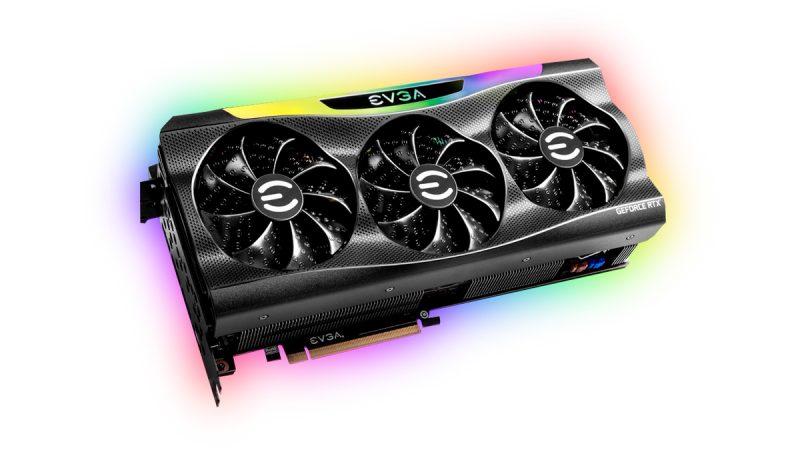
Probably the most expensive item on the shopping list will be the graphics card, most graphics cards these days have RGB included, but I’d recommend going with ASUS Strix cards if you want individual LED control in SignalRGB, other brands will be treated as one RGB zone. In general, you should buy a graphics card that makes sense with the processor you’re using. For example you wouldn’t be able to take full advantage of a 4090 if you have an i5 processor. I went with the EVGA FTW3 3090 which I picked up used for $500 dollars, it’s going to pair perfectly with the processor I’m using for this build. Also, make sure that the GPU you’re getting will fit inside your case, with GPU’s getting bigger and bigger it’s totally possible that it won’t fit inside your case. (image of gpu not fitting in pc on reddit). Now that we’re on the topic of things not fitting: Storage.
SSD
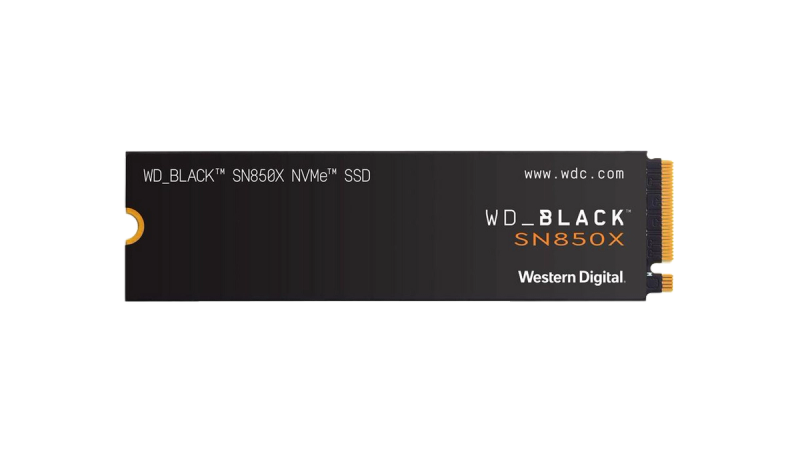
You’ll want to buy an SSD with plenty of space for your games, some titles like Call Of Duty: Warzone 2 are over 100 gigabytes! These days I don’t get anything less than one terabyte, especially since prices have dropped a lot over the past few years. I’m going with the 1TB WD BLACK SN850X which is a great value at the time of this article. For only 100 dollars you’ll be able to take advantage of Gen 4 PCIE and get speeds up to 7,300 megabytes per second.
Power Supply
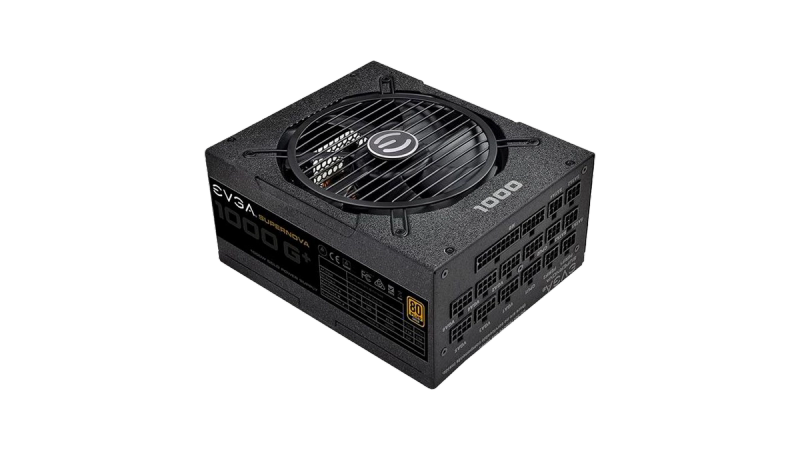
Moving onto the part that’s going to power everything…the power supply! You can use a power supply calculator to determine how much power you’ll need for your build. Check out this power Supply Calculator to make choosing the right power supply easy. I’m going with a 1000 watt EVGA supernova which is going to be more than enough power. There’s also RGB power supply options but that wouldn’t make sense with the case that I’m using since it won’t be visible. If you do want an RGB power supply then I recommend either the Corsair CXF series or the Asus ROG Thor if you want something fancier.
RGB Controllers and Adapters
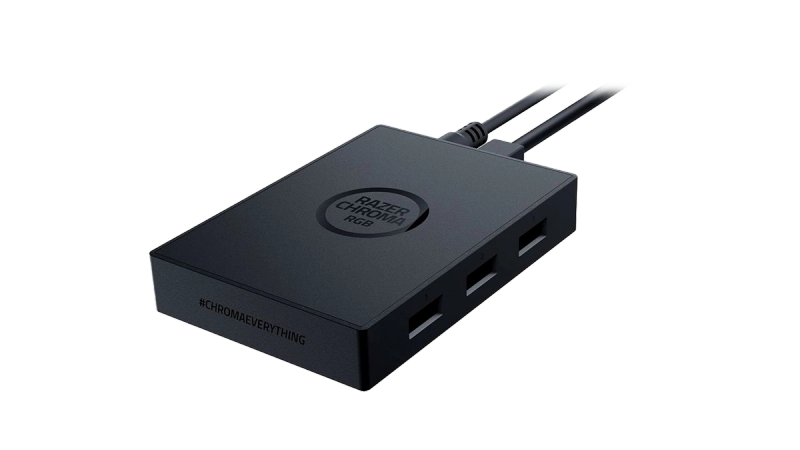
In addition to using the 5v 3 Pin headers on the motherboard, I’ll be using the Razer Chroma Controller that will give me 6 more 5v 3 Pin headers. There’s also a large variety of other RGB controllers that you can take advantage of for your build. I also got three of these Airgoo adapter cables for 10 dollars each. These will allow me to connect each group of 3 Lian Li Uni fans directly into a 5v 3 pin header, which removes the need to have the Lian Li RGB controllers inside the case. If you want to know more about why I’m doing this, I made a detailed video breaking down every single RGB controller and their limitations and all of the relevant adapter cables. I’ll leave a link to that guide in the video description.
Other PC Accessories
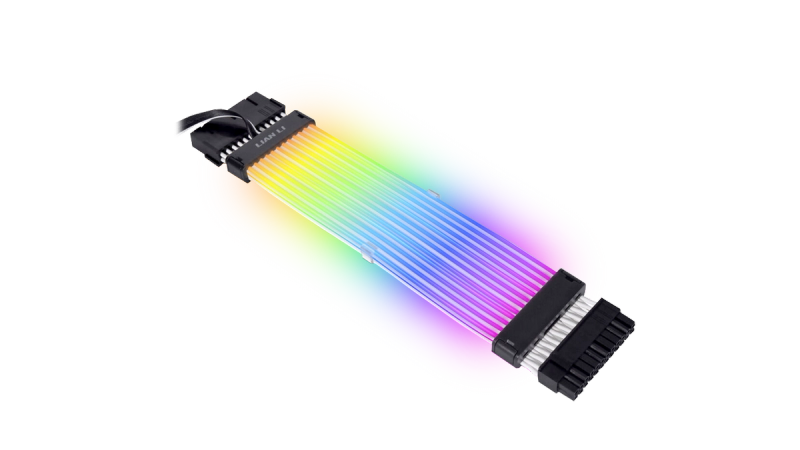
Now with all of the essentials out of the way, it’s time to spend some more money on other accessories that we can shove into the PC to make it even brighter. First, you have to get rid of the boring perfectly functional power supply cables and switch them to Lian Li Strimers. I’m getting both the 24 pin and triple 8 pin for this build. Then you have to cover the inside of the PC with RGB strips. I don’t suggest going with any of the overpriced big brand RGB strips. You can get the exact same results with affordable options like https://amzn.to/3L3QmKZ which is only about 20 dollars. That's also what I’ll be using for this build. With graphics cards getting heavier, you should consider investing in a brace that will keep it from sagging. But don’t settle for just any normal brace. Get one of these RGB braces which is also from EZDIY-FAB for about 25 dollars. Now you can support your GPU with style. Some other accessories you might consider which I won’t personally be using are the Cooler Master RGB AIO Tube Sleeves, Corsair’s LC100 Triangles which are basically mini nano leafs for the inside of your PC, they’re really expensive too!, and if your motherboard doesn’t have a heatsink on the SSD then you can slap on the RGB ssd heatsink from EZDIY-FAB. That covers everything for the PC portion of the shopping list, now it’s time for everything else starting with the monitor.
Monitor
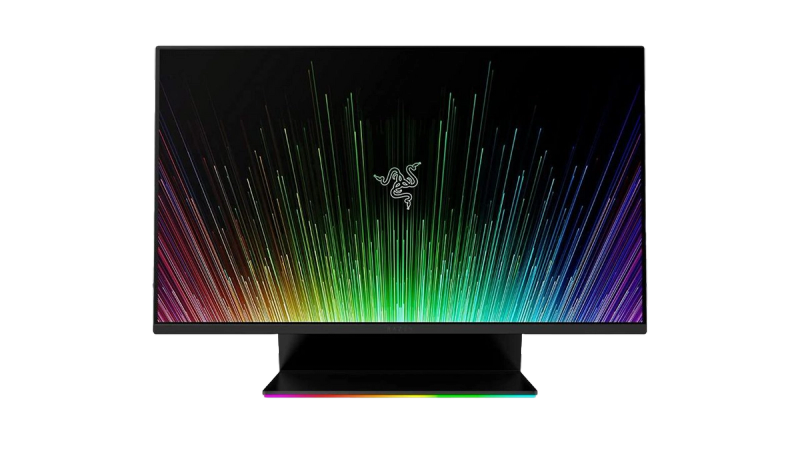
SignalRGB supports a few monitors with RGB built in. The Alienware AW3423D, The LG Ultragear 27GN950, The Razer Raptor, and MSI’s MAG Series Monitors. If you like any of these monitors then you’re good to go. But you shouldn’t get a monitor just for the built in RGB, make sure it has the specs and size you’re looking for and then you can always add your own RGB with strips later. For this setup I’m using the Razer Raptor which has RGB at the base of the monitor and I’ll also be adding RGB Strips behind it.
Keyboard
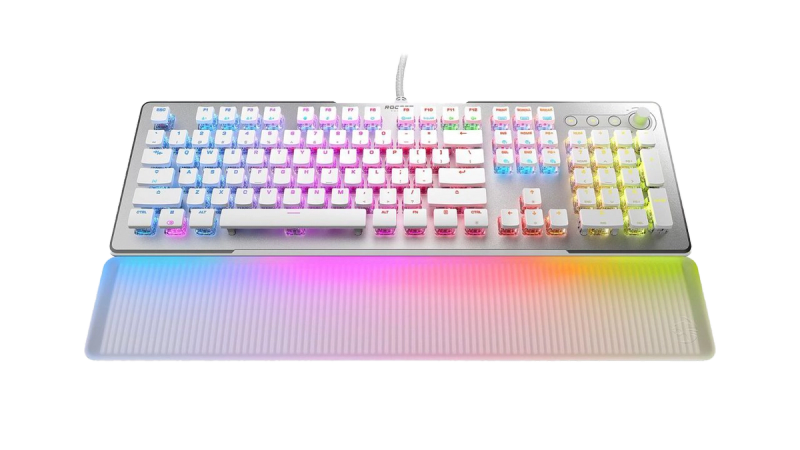
Moving on to keyboards. Our recommendation for a membrane RGB keyboard if you’re on a budget would be the Steelseries Apex 3. If you can spend a little more for a budget mechanical RGB keyboard then I recommend the Corsair K60 Pro SE. If you want a keyboard that just absolutely maxes out in the RGB department then you should take a look at the Roccat Vulcan II which has two leds under every key and also an RGB wrist rest. You can also get QMK keyboards to work with SignalRGB, that would be keyboards from brands like Glorius, Red Dragon, Drop CTRL, and more. It requires flashing the firmware and if you want to learn more about that then I suggest hopping on the SignalRGB Discord server.
Mouse
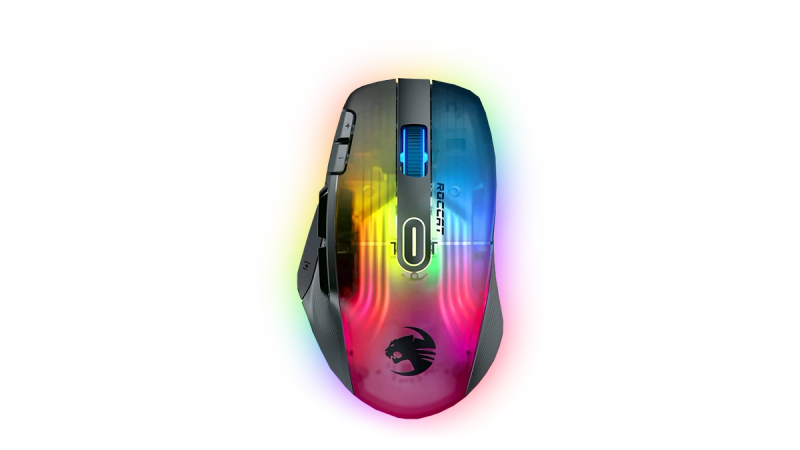
The SteelSeries Rival 600 has dropped in price to less than 40 dollars recently making it a good budget option. If you want more RGB, The Razer Basilisk V3 has a sweet RGB under glow. And then there’s Roccat’s Kone XP which is a bit more expensive but has the most RGB I’ve ever seen on a mouse and it’s what I’ll be using for this setup.
Mousepad
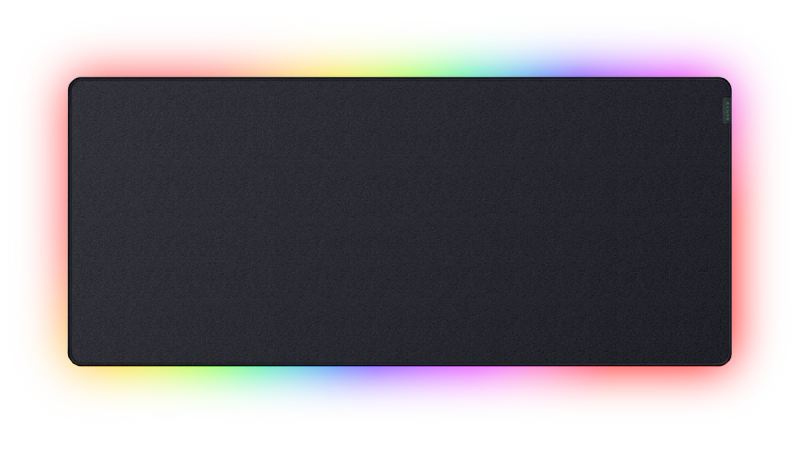
You can’t have a mouse without having a mousepad to rest it on, and why settle for a simple mousepad when you can get one with RGB! The Steelseries QCK Prism is our top recommendation for a regular size RGB mouse pad because it features a dual sided surface, tons of addressable led zones, and it doesn’t have an annoying hub for your mouse cable to brush up against like all the other RGB mouse pads. As for extended RGB mouse pads, Razer recently dropped one the most impressive extended RGB mouse pads that I’ll be using for this setup, it’s called the Strider and it has 19 addressable RGB zones which is something that’s never been done before on an extended mousepad. With that being said, it’s insanely expensive. For a cheaper extended mousepad, consider either the Corsair MM700, or the HyperX Pulsefire Mat instead.
Headset
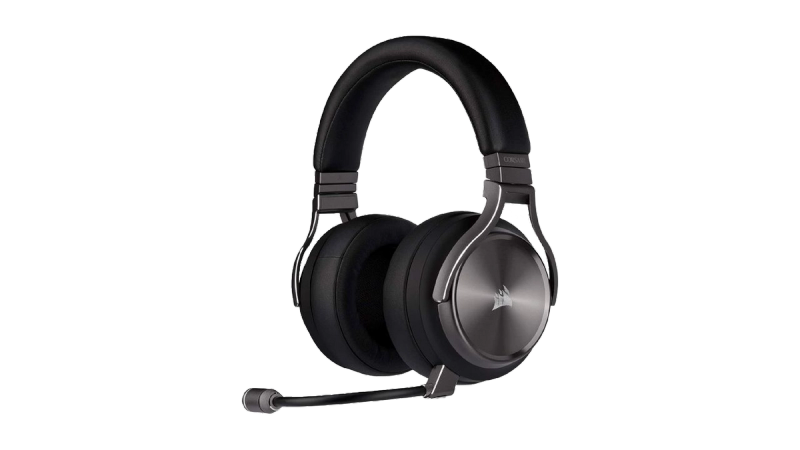
Next, you’re going to need a headset so you can muffle the sound of your wallet screaming after all of these purchases. The cheapest headset that SignalRGB supports is the Patriot Viper V380, but I’d suggest The Steelseries Arctis 5 which is a reputable slightly more expensive option that I'll be using for this setup. If you want something premium, then I’d go with the Corsair Virtuoso SE.
Headset Stand
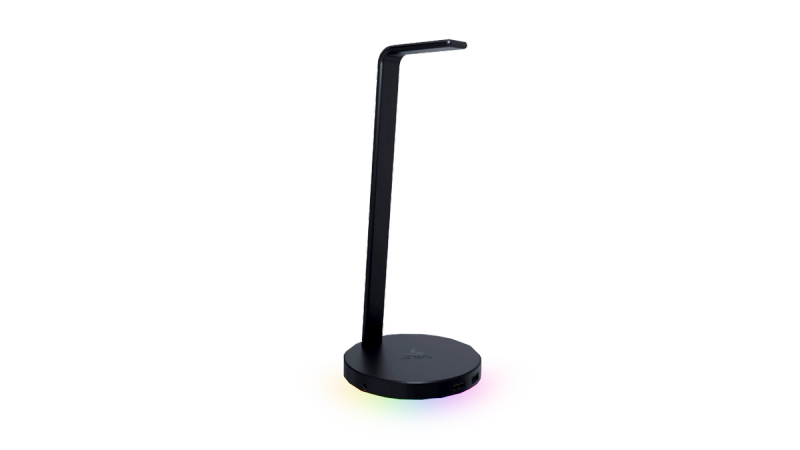
Now you need to get a stand for your headset because we aren’t going to rest our headset on the desk like peasants! There’s only two that I actually recommend and it’s either the Razer Base Station V2 or the Corsair ST100. I like the Base Stations sleek and rounded look so I’ll be going with that for this setup. That being said, this obviously falls into the “want” category instead of the “need”.
Speakers
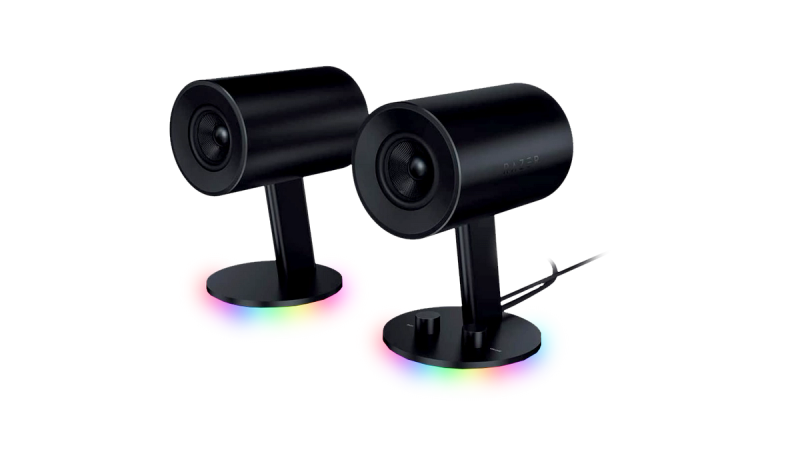
Finally, you need speakers to complete the setup. SignalRGB supports Logitech G560, Razer Leviathan V2, Razer Nommo, and Creative Labs Sound Blaster X Katana. All of these are great options depending on your budget and needs. I'll be using Razer’s Nommo simply because I like the way they look on the desk.
Other Desktop Accessories
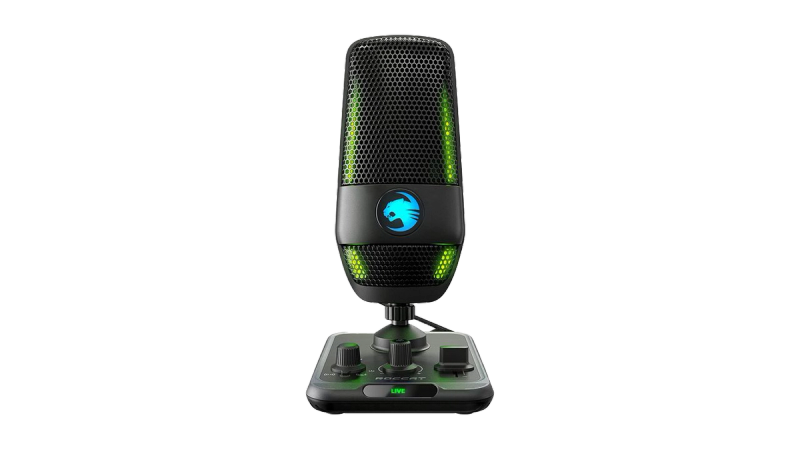
That covers all of the essentials, but let’s quickly look at some other products you might find interesting. If you planned on getting a mouse bungee for your setup then the Razer Mouse Bungee V3 would be the perfect addition. Looking to stream or record audio? SignalRGB supports the HyperX Quadcast S and the Roccat Torch Microphone. Still not satisfied with all of the RGB you already have? Corsair’s LT100 lighting towers are the perfect way to add some extra RGB flair to your setup. And finally if you have a phone or device that supports wireless charging, Razer has you covered again with their RGB Charging Pad.
Building the PC
Now it’s finally time to get started with the build. Before you do, I recommend you test all of your parts before putting them in your case. It would be a major bummer to find out that you have a dead LED or other defective parts after you’ve already put it all together.
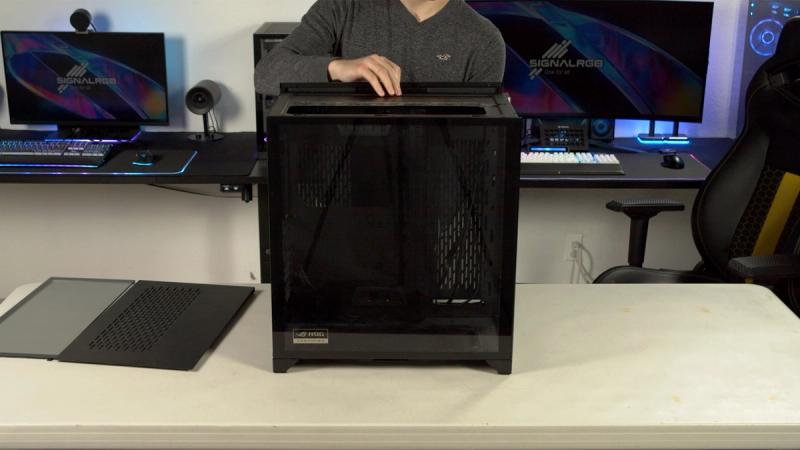
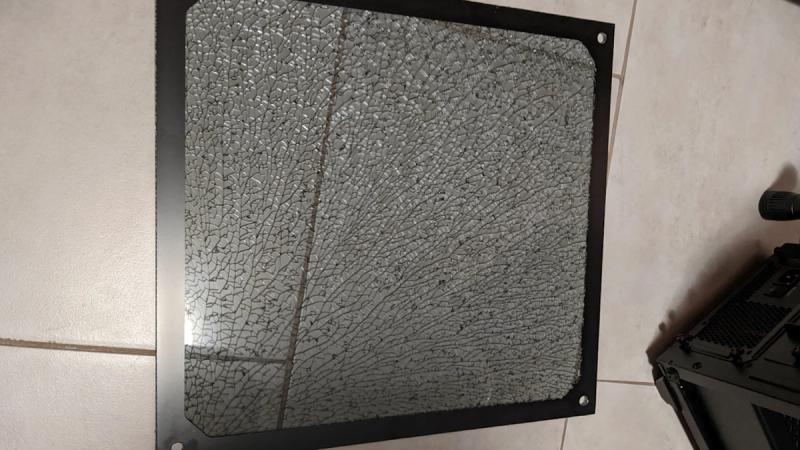
First thing you should do is remove all of the panels from your case. It's going to make the case lighter and easier to work with. On this case I have to remove the top panel first before all of the other panels can slide out. Make sure to read your manual if you aren't sure how the panels come off on your case. Be extra careful with the glass panels so that you don't end up like these posts on Reddit.
Next, prepare the motherboard by installing the CPU, RAM, SSD, and the backplate for the liquid cooler. You'll want to take out the tiny screw and stand off that's included in the box because you're going to need that to screw in the SSD later. Some motherboards like this one already have the stand off prepared for you though so it just depends on what motherboard you have.
I suggest resting your motherboard on the box it came with for a static safe work space.
To open the CPU socket, push down on the latch and pull out. When you install the CPU make sure to match the notches on the CPU with the notches on the socket, it's sort of impossible to mess this up if you're gentle.
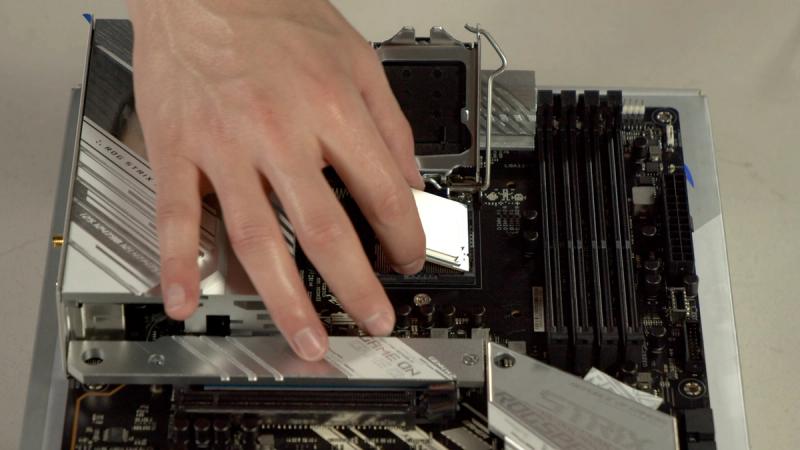
Once the CPU is inside, give it a light wiggle to make sure it's seated properly, then you can close the lid. Push down on the latch with some force and secure it in place, the CPU cover will pop off, make sure to keep this because you may need it someday if you decide to re-sell the motherboard, it'll protect the pins from damage.
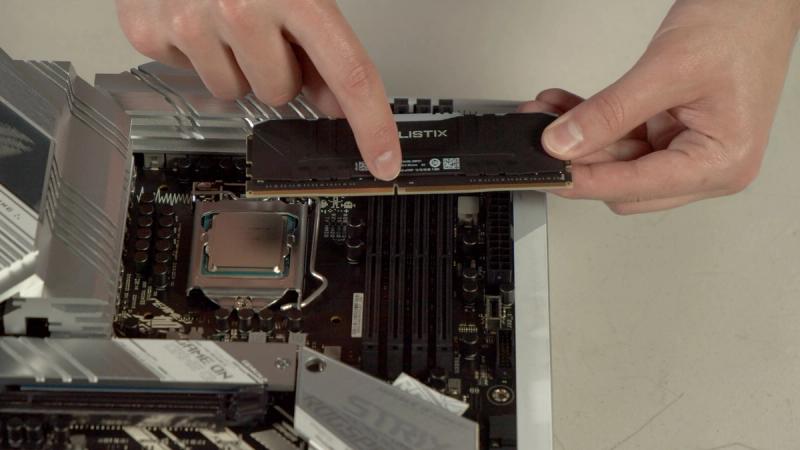
When installing RAM, make sure you line up the notch. You’ll need to apply a light pressure until you hear a click sound.
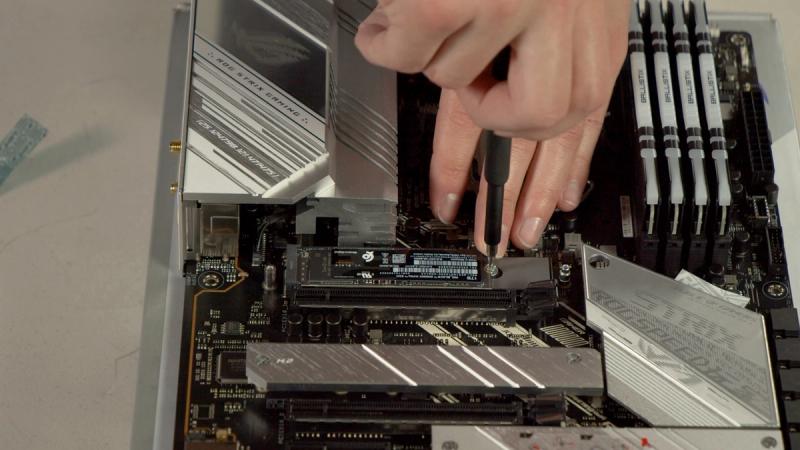
Most modern motherboards have a heat-sink over the SSD slot so you have to unscrew that first, then make sure to peel the film off of the thermal pads before installing the SSD. Then you kind of just insert your SSD into the pins at a slight angle, push down, and screw it in.
Put the heat-sink back on and you're all set.
Now flip your motherboard over and install the backplate for the liquid cooler.
Most backplates have adhesive that will keep it in place so that you can flip the motherboard over again and screw in the stand offs.
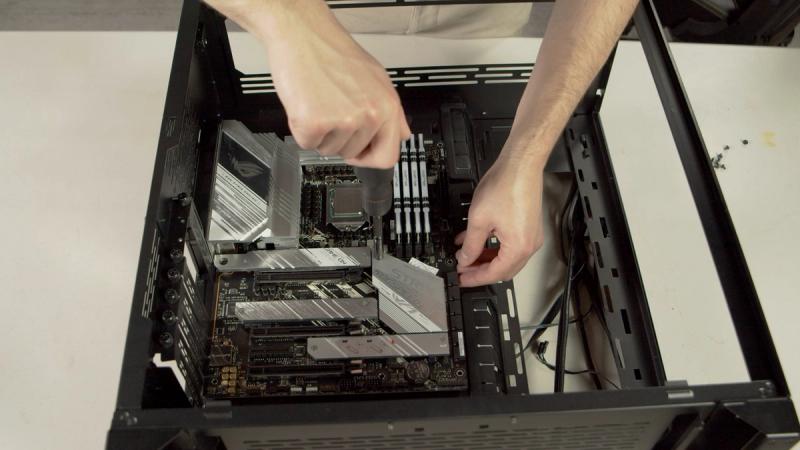
With all of that out of the way, it's time to mount the motherboard in the case. Don't forget to put the IO shield on if your motherboard doesn't have it pre-installed. Line up the motherboard with the holes for the screws and then get to work with a screwdriver.
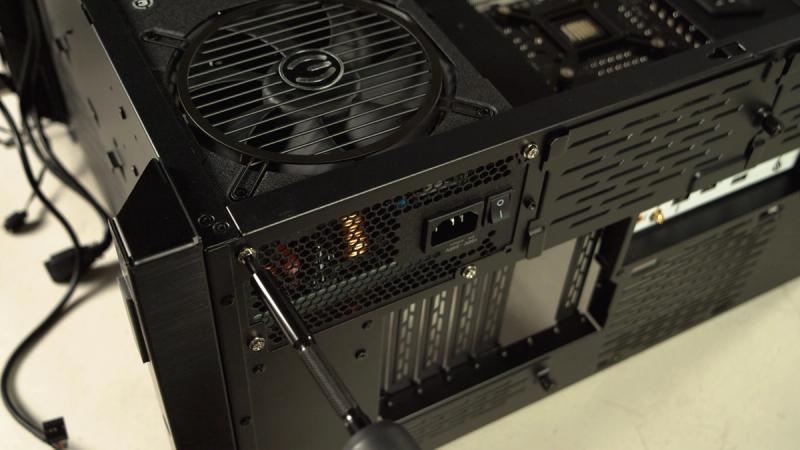
Now to install the power supply, if you have a modular power supply then I highly suggest putting all of the cables you need on it first and then mount it inside of the case. Mounting a power supply is easy, it's usually just 4 screws, and make sure to pay attention to where
the fan is facing, this will depend on which case you chose and if you went with an RGB power supply that you want to show off.
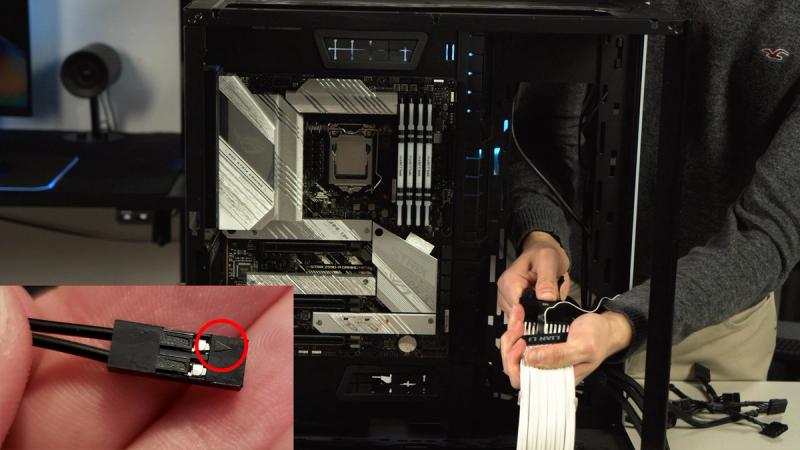
After installing the power supply, connect all of the important cables to the motherboard like the 24 pin cable, the cpu cable, the front panel connectors, and the hd audio cable. Except in this situation I’ll be connecting the 24 pin cable and the gpu cable to the lian li strimers. If you don't know how to connect the front panel connectors then refer to the manual, a little tip from me is that there's a little triangle on the reset and power switch connectors that indicates plus and the side without the triangle is minus.
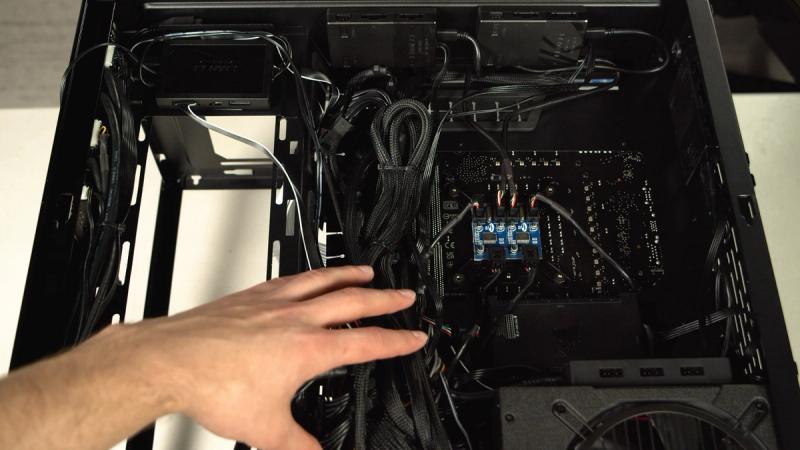
Now you can go ahead and install any RGB controllers that you'll need. I skipped ahead here and while it started off really strong, I gave up trying to cable manage all the sata connectors so I just shoved them like this, consider this a more realistic guide that shows you the ugly side of RGB PC building. I'm using 6 RGB controllers, the Lian Li Strimer plus controller, the Commander Core controller which is required for the Corsair AIO, the Razer ARGB controller, and 3 Lian Li Infinity Fan Controllers.
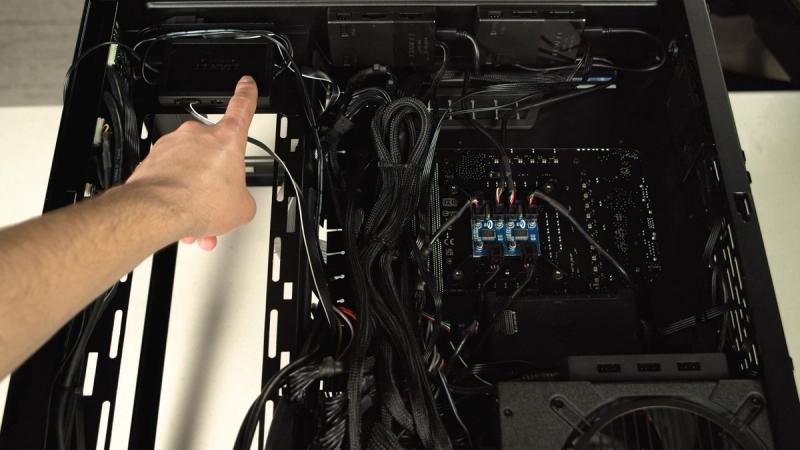
The reason I need to use all 3 of the included fan controllers is because if I was to connect all 9 fans onto one controller, I would experience laggy RGB effects with SignalRGB, it's purely a limitation with the firmware on the controllers, I go over this in more detail in our RGB controllers guide that I mentioned earlier.
Essentially, 3 fans per controller is the sweet spot. If you ever need more internal USB ports, you can buy these cheap hubs which I'll link in the video description.
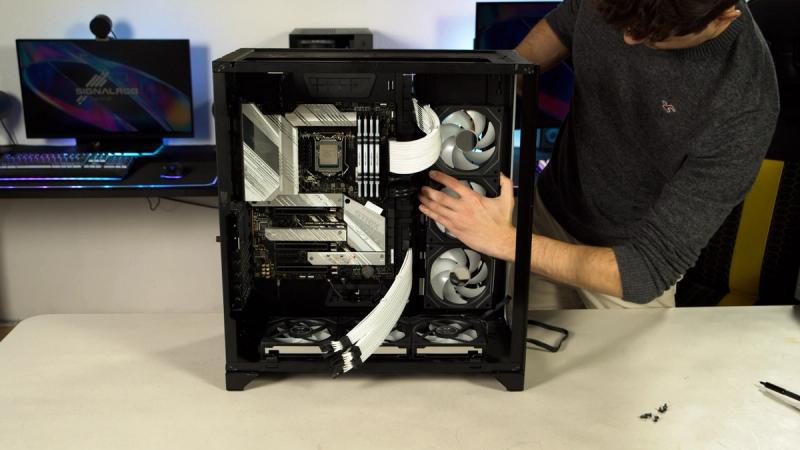
With all the controllers installed, it's time to mount the fans and the radiator.
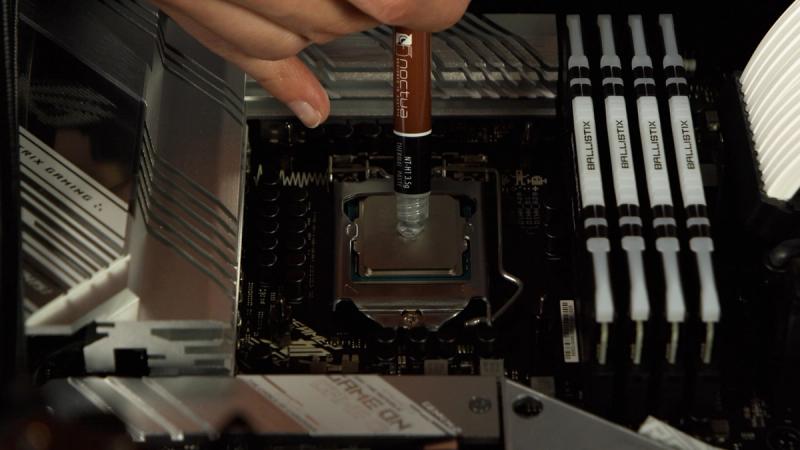
When it comes to thermal paste, all you need is a small dot in the middle of the processor. Then place the pump on top and move it around slightly to spread the thermal paste.
Hand tighten the screws in a criss cross pattern until it gets really hard to turn, then you're done.
Now for the accessories, the EZDIY-FAB strips are going around the motherboard and they include these convenient routing clips, but I'll be completely honest, the adhesive isn't that great and it isn't that easy to get the strip to sit around the motherboard perfectly.
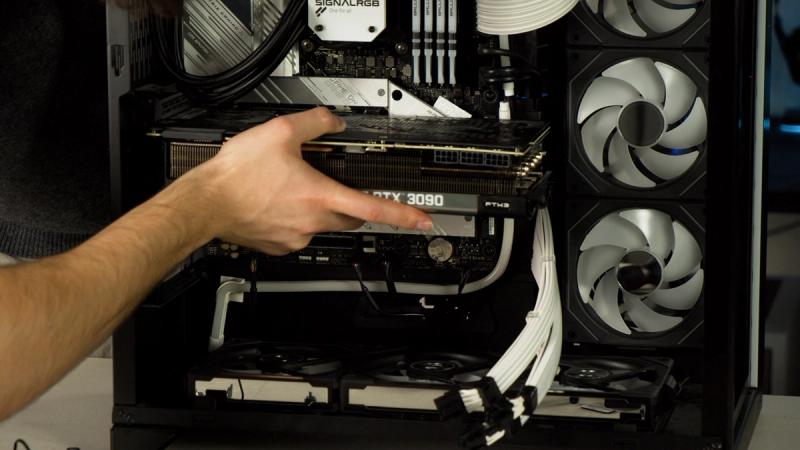
Install the graphics card and then the RGB brace, it may take a few tries before getting it to the correct height to support the graphics card.
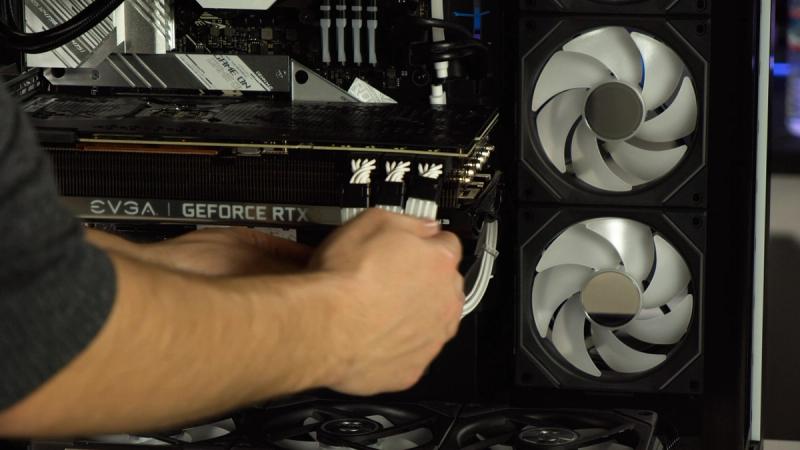
After that, connect the cables to the graphics card.
The last step is to plug in all of the RGB headers, in our situation I'm using the 3 pin header at the top of the motherboard for the strimer cables. And then the two 3 pin headers at the bottom are for the RGB strip and the GPU brace. Finally, the case strip connects into the Razer ARGB controller, and I have tons of ports left over to fuel the RGB addiction.
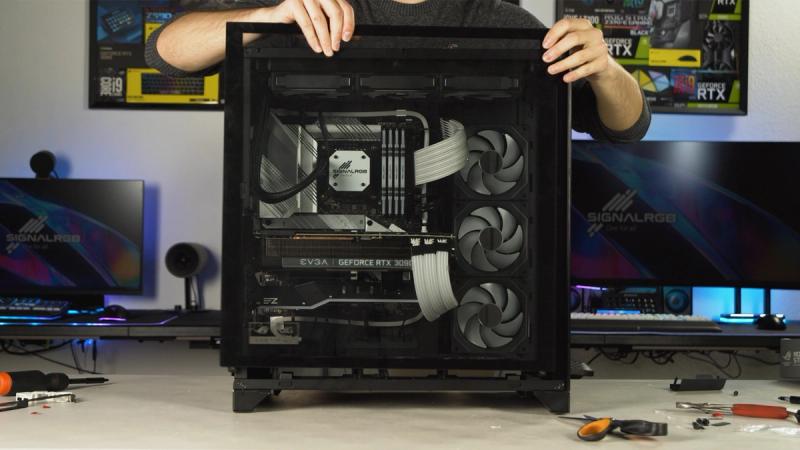
Now to close all of the panels on the case and hide this cable monstrosity.
Now let’s see what this fully-synced setup looks like using SignalRGB.
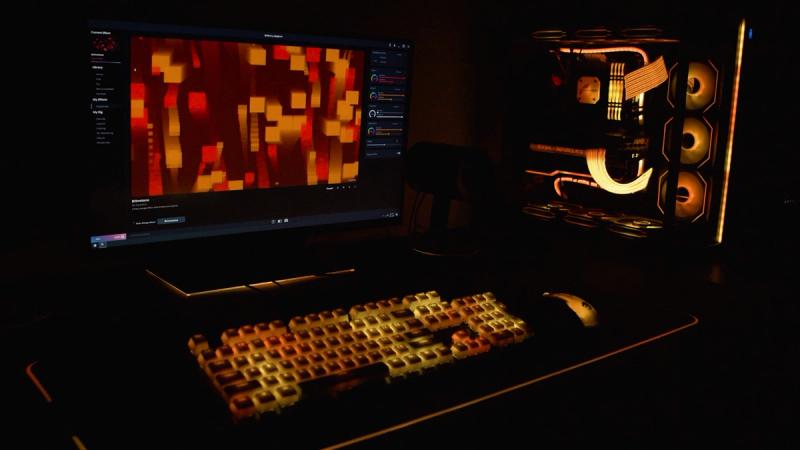
Thanks for reading this guide, I hope it helps you build your dream RGB setup. Be sure to check out the quickstart guide for controlling and syncing your RGB using SignalRGB!