Guide to syncing RGB devices
In this guide you will learn how to sync your RGB setup with one FREE application. This is especially great if you have RGB devices from a variety of different brands that would normally require multiple RGB applications just to get your colors to match.
Step 1. Uninstalling existing RGB applications
Uninstall all of the manufacturer RGB applications for the best experience. You MUST restart your PC after uninstalling them to ensure all of the files are removed. To uninstall an application go to Control Panel\Programs\Programs and Features in Windows. Right click the app and then click Uninstall. You can also use Revo uninstaller to make sure you have completely removed the apps.

Below is list of the applications tied to common brands that should be uninstalled:
ASUS - Armoury Crate
Corsair - iCUE
Razer - Synapse 3
Logitech - G HUB
MSI - Mystic Light or Dragon Center or MSI Center
Gigabyte - RGB Fusion or Gigabyte Control Center (GCC)
Lian Li - L-Connect 3
CoolerMaster - MasterPlus+ or MasterCTRL
NZXT - CAM
SteelSeries - SteelSeries Engine
ThermalTake - TT RGB Plus
HyperX - Ngenuity
ASRock - Polychrome
Glorious - Core
Step 2. Download SignalRGB
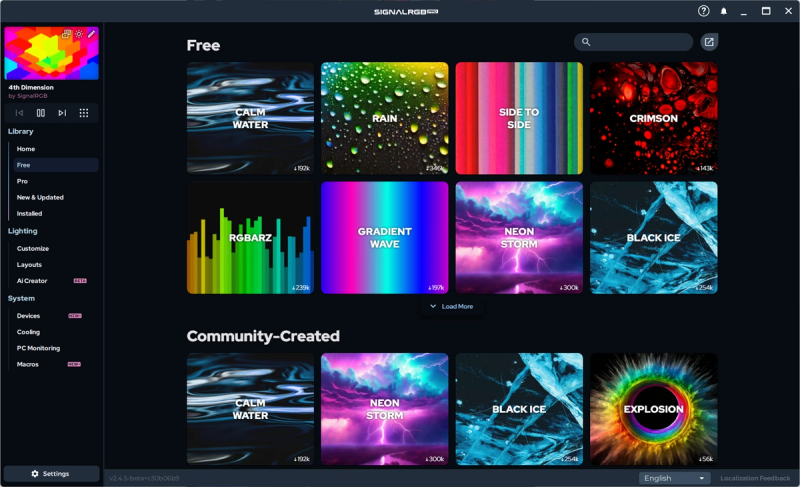
The FREE RGB application you will be using to sync your devices is called SignalRGB. It supports the most RGB devices out of any other syncing application which means you will have a high chance of your devices being supported. The application comes with over 100 free customizable RGB effects. SignalRGB also includes 'Screen Ambience' for free which is also known in some other applications as 'Ambilight' or 'Screen Mirroring'.

Step 3. Install SignalRGB
Run the SignalRGB installer as an administrator and continue through the installation.

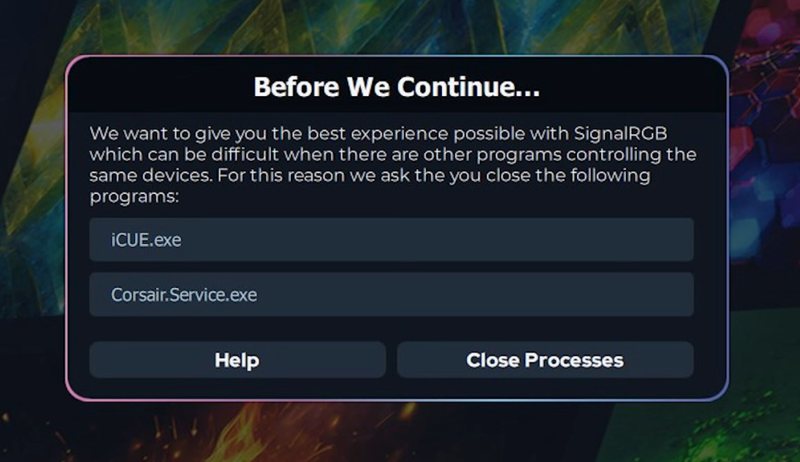
If you see a popup with a list of conflicting exe's then it means you did not uninstall or at-least close the applications associated with the exe's. Click on 'Close Processes' and SignalRGB will attempt to auto-close them for you. You can also go into Windows Task Manager and end the conflicting processes if it fails to auto-close them. It is recommended after you finish the SignalRGB installation that you go back and uninstall the applications associated with the listed exe's by following the instructions in step 1 of this guide.
Once SignalRGB is open for the first time you should see your devices cycling through a neon color scheme (pink-->purple-->blue-->cyan) which means the devices are supported. If you see any of your devices flickering then it means there is still conflicting applications running associated with those flickering devices. At this point if everything appears to be synced together and you just want to set everything to a single color then you can do so using the 'Solid Color' effect. If some of your devices don't appear to be synced then that is okay. It could just be because your devices require further configuration.
Step 4. Configuring components
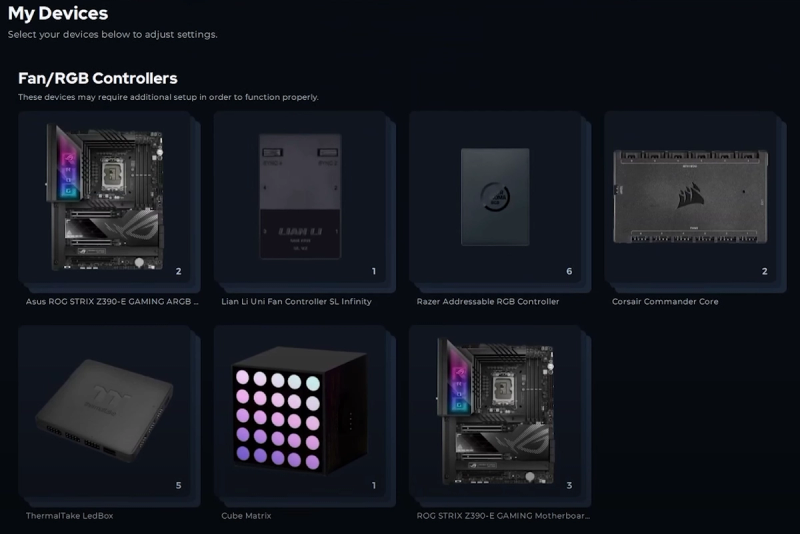
Click on the Devices tab located under the System category. On the devices page you will find all of your RGB devices that are supported by SignalRGB. Peripherals such as keyboards and mice do not need any additional configuration. However, RGB controllers and motherboard headers will need to be configured manually so that SignalRGB knows which components you have connected to them such as RGB fans, strips, water blocks, case lighting, etc...
Everything that needs configuration will appear at the top of the devices page:
Clicking on a device takes you to its page where you can configure components and other settings.
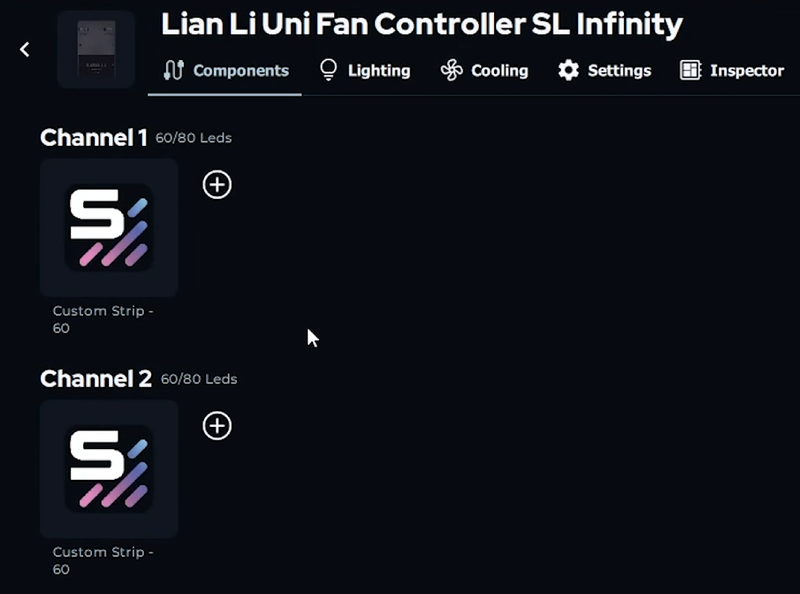
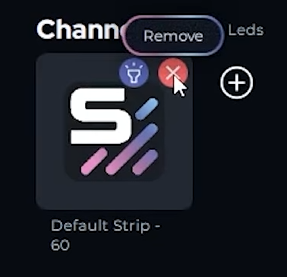
Every RGB controller and motherboard header will have default strips which are there as place holders until you specify which components are connected. You need to hover over these strips and remove them before adding your components to each channel.
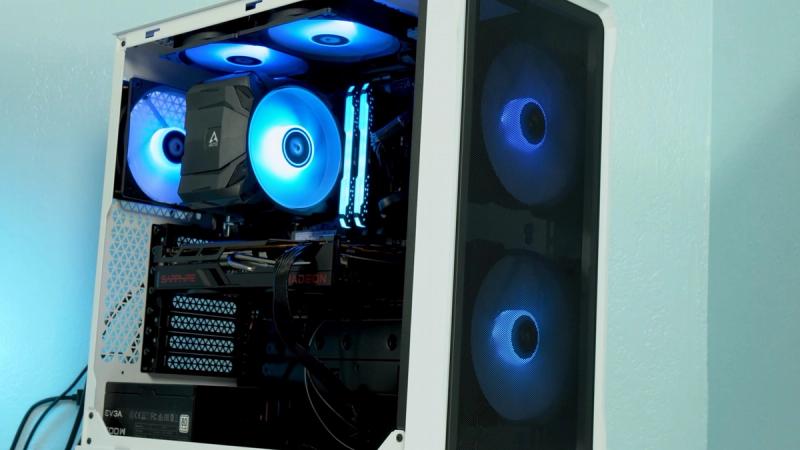
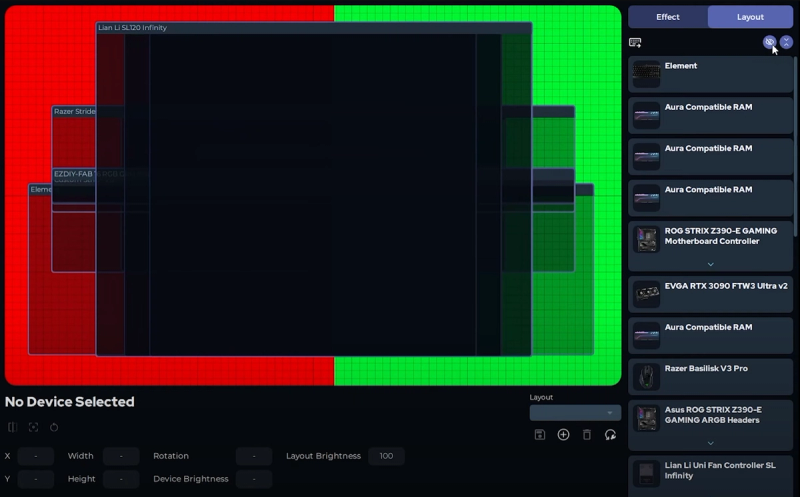
Depending on the type of RGB controller, there will be one or more channels available. You can identify what devices are connected to each channel by the color of the pulsing effect. In the example below, you can see that the strip at the front of the case is pulsing red which corresponds with channel 1. Since there is nothing pulsing blue in the PC then it means there is nothing connected to channel 2.
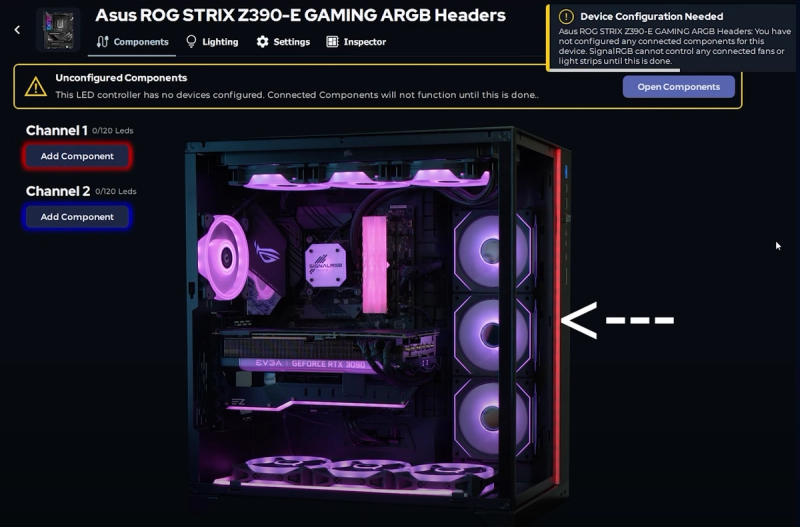
Now that you have identified what components are connected to each channel, you can begin adding components. Click "add component" under the channel you would like to add the component. There will be a menu with a list of components that can be added. Take advantage of the sorting drop down menus and search bar.
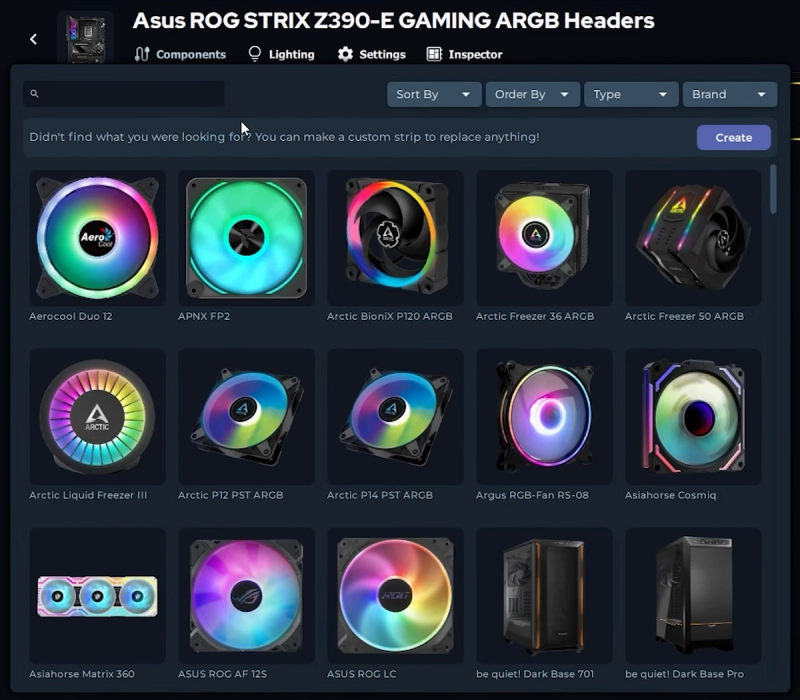
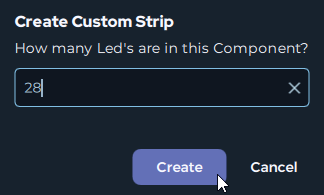
Sometimes you might not see your component on the list which means you will need to create a custom strip with the LED count that matches your component or you can select a different component that has the same amount of LEDs.

Step 5. Layouts
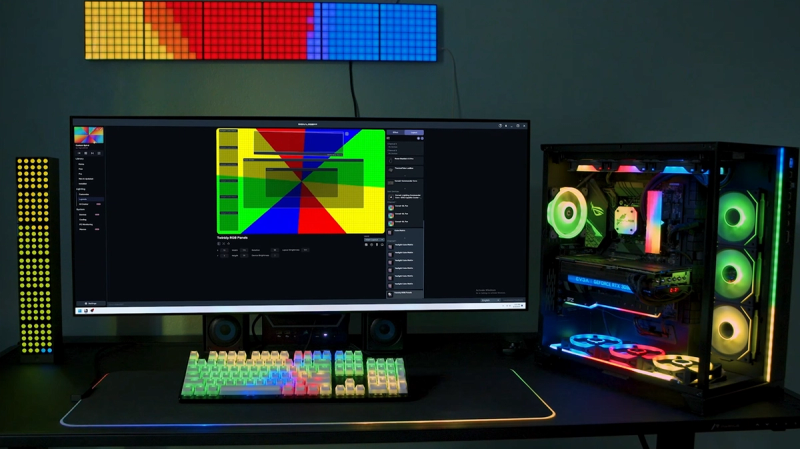
This next part will take you some time but it is totally worth it! SignalRGB Layouts allows you to control the positioning of your devices on a 'canvas' to make effects flow from one device to another anyway you want. The most common way of setting up the layout is by matching the overall real positions of the devices in your setup. The easiest way to get this done is by using an effect called 'Side to Side'. This effect will act as your reference so that you know if you are laying everything out correctly.
On the left side of SignalRGB under Lighting click on the tab labeled Layouts. You should now see a bunch of boxes centered canvas. Each of these boxes represents a device in your setup.
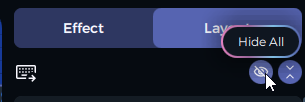
The easiest way to create a layout is by starting off with every device hidden and un-hiding devices one at a time as you configure them. You can find the "hide all" button in the top right corner:
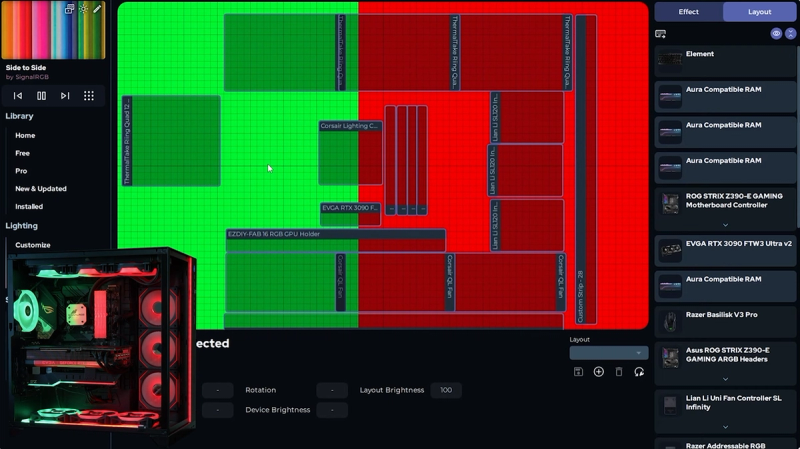
Now you can start un-hiding the devices one at a time and positioning, scaling, and rotating them until you see the Side to Side effect flowing through all of your devices correctly. You should have a layout that looks like the image below.
Hide every device on the canvas again and do same the thing for devices on your desk.
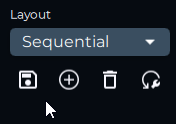
Be sure to save your layout using the menu at the bottom of the screen.
Step 6. Have fun
Now you can take full advantage of the hundreds of RGB effects that are available in SignalRGB. Be sure to checkout some fan favorites like Watercolor, Dark Matter, Sakura, Vapor Wave, and Calm Water. Don't sleep on the different FREE audio visualizers either!